Tag Archives: permaculture

How to Make & Use a Rice Hull Carbonizer: With Tips, Benefits, & Con’s

Hello Everyone,                                                                                                                                                        Today we’re going to talk about making and using a Rice Hull Carbonizer.

What is it?

Rice hull (or husk) is the outermost layer that is commonly detached from the rice grain during the process of milling. Rice hull therefore is considered the by-product or waste produced from the process of milling rice.

This unwanted rice hull is usually burnt or left to pile up in open fields. Agricultural researchers found that this by-product or waste have properties that are beneficial to cultivating and growing plants and so found a way to make better use of the rice husk. They have identified one way to manage the massive amount of rice husks via the process of rice husk carbonization.

Rice hull carbonization is the process of incomplete or partial burning of rice hull. The carbonized rice hull (CRH), which is the product of this process, is porous and bulky with uniform intact black particles.

Below is a video of how to make & use a rice hull carbonizer.

Now it’s time for tips:

  • We realized in the process, that we needed a LOT more holes, to create ventilation for the fire and it carbonizes the husk faster. You need to add a lot more holes than us. REMEMBER: more holes equals faster carbonization & is easier to light the fire. So the more the better.
  • When burning the husk, turn it (Mix) every once in a while, and sprinkle with water

Next is Benefits:

  • It’s full of nutrients.
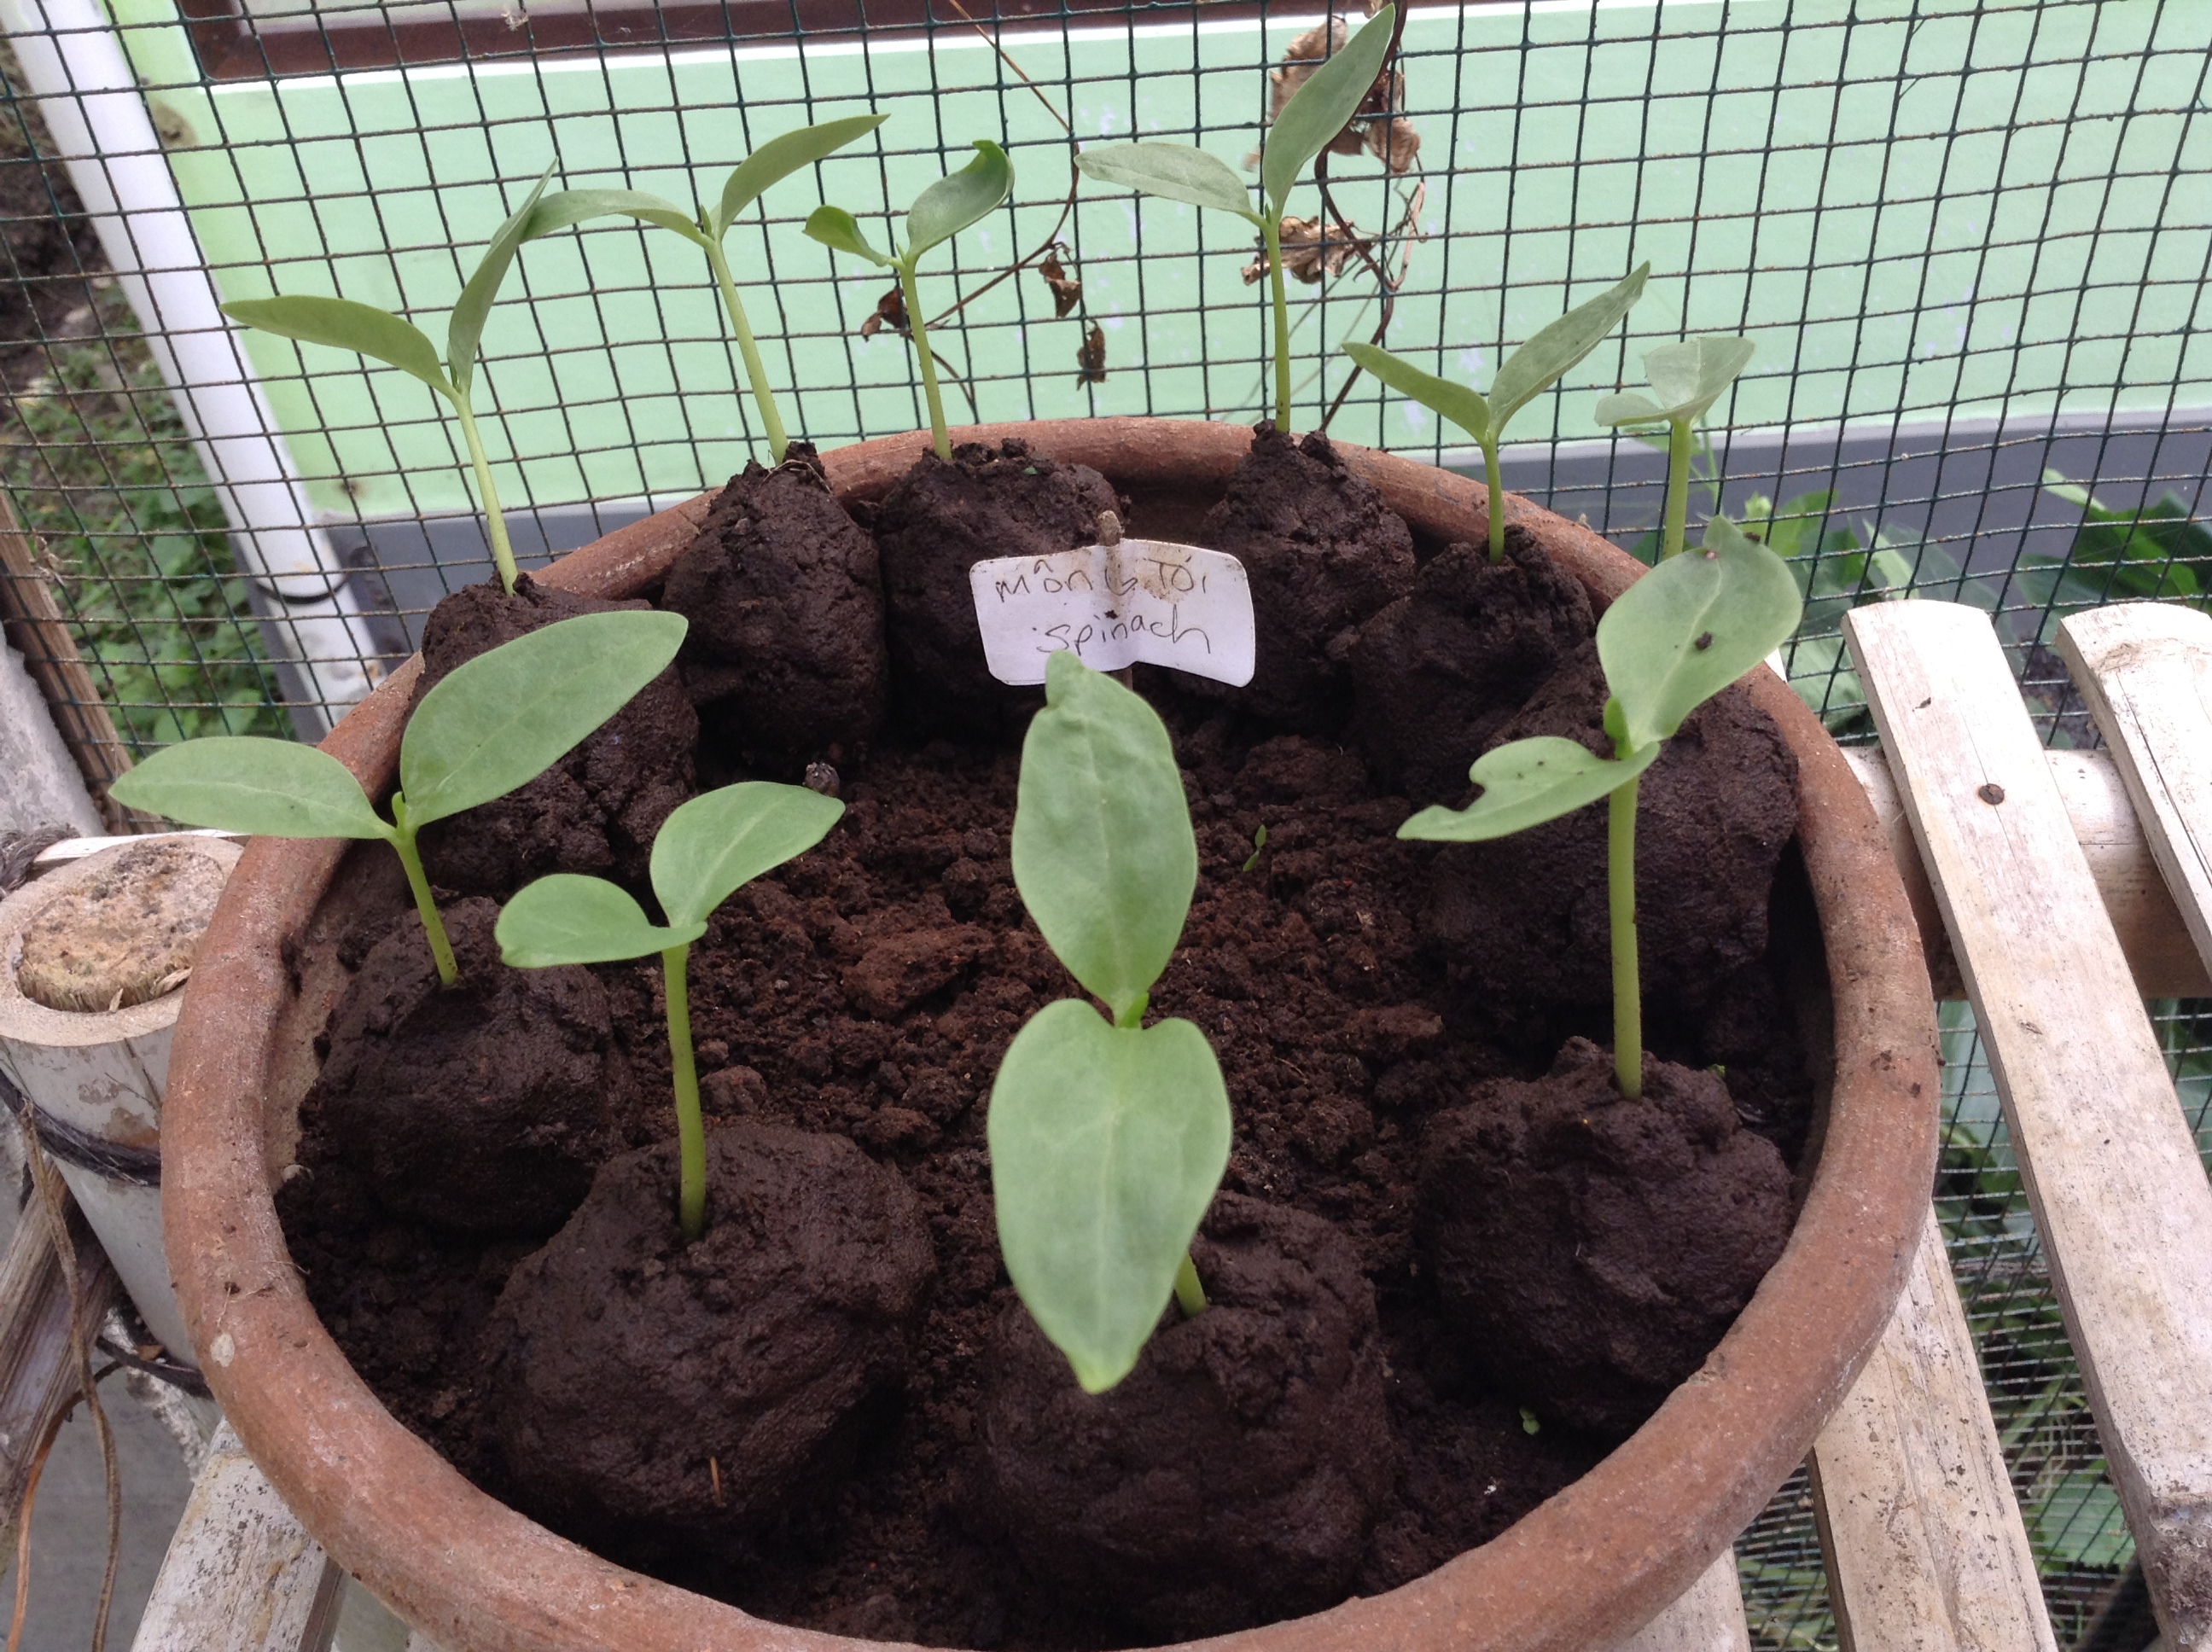
  • It will help your plants grow faster.
  • Improves biomass production

Last but not least important, Con’s:

  • It creates Carbon monoxide, which is one of the planet’s biggest problems.
  • It may not work well with all plants

Personal Note: This is my learning experience, and I think that if we’re basically burning “carbonizing” the husk, it will help the plants grow faster, In the small picture. But in the big picture, we’re looking at all this carbon monoxide floating up into the air. Which is one of the planet’s biggest problems. This is Just to be shared as a learning experience, and when you want a little something to add to your fertilizer, just add some raw rice husk (which will work as well, and doesn’t create carbon monoxide).

Thank you for Reading,                                                                                                                                       Jaz

How to reproduce Okra to make seeds

Image

okra seeds!

Image

opening okra on all sides

Image


packaged okra 

What you need:


  • A full grown okra, that is producing okra
  • Gardening cutters
  • A basket
  • A seed dryer/or somewhere to dry
  • 2 bowls (if you want to store or sell)
  • Small plastic zip lock bags (if you want to store or sell)
  • White stickers (if you want to store or sell)
  • A pen (if you want to store or sell)


 How to do it


  • First cut off some okra’s from your okra plant.


  • Now put your okras in the basket and place them in your dryer/or somewhere to dry.


  • Dry for 2 days.


  • After drying open the okra on all sides, and dump your seeds in 1 of the bowls.


  • Check to see if there are any holes in the seeds; throw the seeds with holes in the compost, and the seeds with no holes in the other bowl.


  • Now write the name on the white stickers, which are okra seeds. (It’s good Idea to write the date too)


  • Put all your good seeds in the plastic bags.


  • Finally stick on your white stickers with writing, and your good to go.


  • Your seeds will last for 1 year. 

How to reproduce red amaranth to make seeds

What you need

  • A full grown amaranth
  • Garden cutters
  • A basket with netting on top
  • A seed dryer/or somewhere to dry
  • Wire-mesh Strainer (if you are going to store)
  • 2 Bowls (if you are going to store)
  • Small plastic bag (if you are going to store)
  • Pen and white stickers (if you are going to store)


How to do it

Image

  • First cut off a stem with lots little ball like puffs from your fully-grown amaranth.
  • Put your amaranth stem in your seed dryer/or place to dry. Let your amaranth stem dry for about 3 to 4 days in your basket with netting on top.
  • Now take off all the puffballs and put them in your basket with netting on top (do it above 1 of your bowls).
  • Once you got the puff balls all off, put your amaranth stem in the compost.
  • Now you just take the puffballs and use your thumb and pointer and rub the puffballs in between your fingers. (Do this above your other bowl)
  • Soon enough little black sprinkles (seeds) will fall into your other bowl.
  • Now get the strainer and put it above the now empty bowl, and grab your other bowl. Then dump the black sprinkles (seeds) with the puffballs in the strainer.
  • Now shake the strainer carefully and pretty much only the black sprinkles will fall into the bowl.
  • Now put your puffballs in your compost and continue this process until the puffballs are gone.
  • Now slide them in your small plastic zip lock, then stick on the white sticker, and finally write the name on the label, which are red amaranth seeds.
  • The seeds will last for 2 years, you can either grow them now or store then up to 2 years.

How to Okulation your seedlings


Image


seedling that just sprouted.


What you need:


  • Seedlings that just sprouted in a pot or seed tray
  • Compost and bucket
  • Water


How to do it:

 Image

  • First get your compost and put it in a bucket, then add enough water to make it moist and gooey.

 Image

  • Next grab some of your compost and press your thumb down on the compost evenly over your compost in hand.

 Image


Image

  • Now to gently pull up your seedling from the seed tray. If you have a pot then go under the seedlings and go up.

 Image

  • Just take 1 seedling at a time and put your seedling’s roots in the middle of your flattened compost.

 Image

  • Then roll the compost over the seedling’s roots top and bottom into a ball shape.

 Image

Image

  • After that you place your seedlings on your pot/seed tray.


  • Also you can add a sign by getting a thin stick, pen, and a white sticker. Just write the name of your seedling on the white sticker. Then stick the side of your sticker to the stick and slightly roll 1 end on to the stick. 


The purpose of doing this process is so when you want to move it to a bigger pot and or your bed for plants. The plant won’t be stressed. Because when a seedling becomes stressed, they can die. You can leave it in this ball until 1 week. After that you can place the entire ball and seedling in a bigger pot, or a bed for plants. 

How to collect seeds from a sunflower

Image

Dried-up sunflower


Image

Removing seeds from sunflower

 What you need:


  • 1 Sunflower Plant
  • A seed dryer/or somewhere to dry your seeds (make sure there is sunlight)
  • A cutting tool
  • Basket with netting on top


How to reproduce


  • First have your sunflower plant grow a flower, then cut the flower off with your cutting tool.


  • Then get your basket with the netting on top and place your sunflower on top.


  • Put your basket with the sunflower on top in your seed dryer/or place to dry your seeds.


  • Wait until your sunflower is all dried up, brown, and dead.


  • Once your sunflower is all dried up, take your sunflower and carefully remove the inside of your flower (the seeds).


  • Note to self when removing the seed do it above your basket with netting.


  • Now you can plant your sunflower seeds/or you can store up to 2 years.